

Introduction: When Style Meets Spec Sheets
Picture this: a café needs fresh light that flatters wood tables and latte art, yet stays quiet on the power bill. A led lighting manufacturer china is often the first call because the catalog looks deep and the timelines look fast. Here’s the twist—projects like this fail or fly based on small choices that stack up. Numbers say LEDs cut energy use by up to half, sometimes more, if drivers and optics are matched well. But how do you know if your pendant plan will deliver comfort, not glare? Will that sleek profile play nice with your dimmers and local codes? And are you trading easy installs for long-term headaches (been there)? Let’s compare what you see in brochures with what actually holds a space together, from thermal paths to dimming curves. Stay with me—we’ll get specific next.
Part 2: The Hidden Friction Behind Acrylic Pendant Choices
Where do things go wrong?
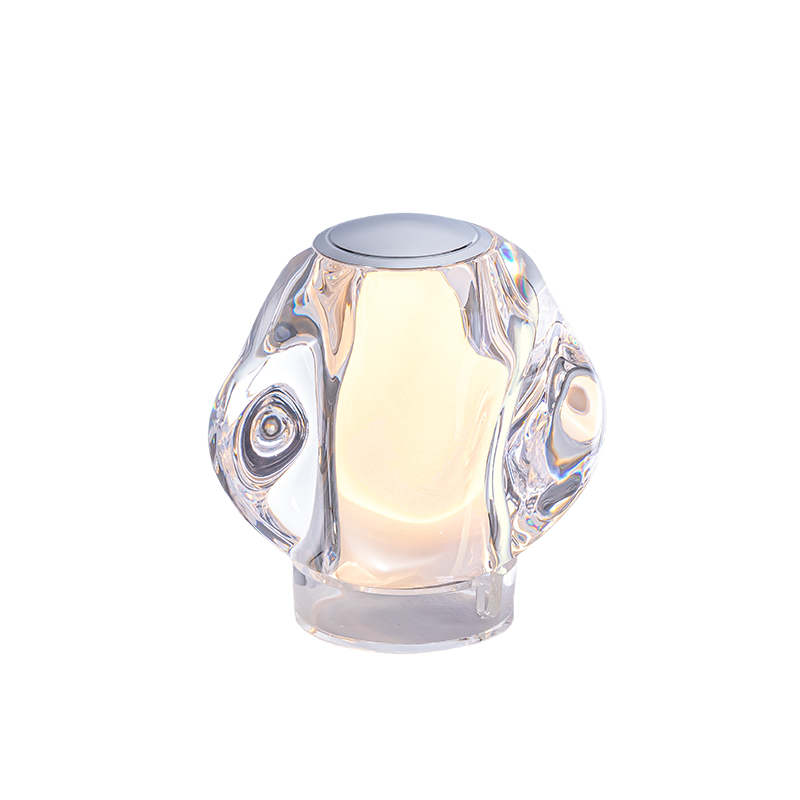
Many teams pick acrylic pendant light fixtures for clean diffusion and modern lines. That’s smart—until the first site mock-up. The pain points don’t shout; they whisper. Diffuser thickness can shift luminance uniformity. Cheap constant-current drivers can flicker under PWM dimming. Heat has nowhere to go if the canopy traps airflow, and that shortens lumen maintenance—funny how that works, right? Look, it’s simpler than you think: match driver specs to your control protocol, check thermal management, and verify optical spread before you buy at scale. If you skip these, the beautiful acrylic becomes a bright spot with dark edges, or worse, a hum near the espresso machine.
Traditional fixes fall short. Swapping drivers late adds cost and lead-time. Tossing in a bigger heat sink can ruin the profile line. Tuning on site, fixture by fixture, steals hours and still leaves banding at low dim levels. The deeper fix starts earlier: specify CRI and CCT alongside driver ripple percentage; confirm the cut sheet’s photometrics, not just wattage; and inspect EMC compliance. When a led lighting partner validates these upstream, you avoid the “why does it shimmer at 10%?” call. It’s not overkill; it’s how you keep acrylic’s elegance without sacrificing control smoothness or install speed.
Part 3: Forward-Looking Tech That Makes Pendants Behave
What’s Next
New driver architecture shows the path forward. Hybrid regulation pairs low-ripple constant-current stages with smarter power converters, so dimming curves stay linear at 1–5% without jitter. Add onboard sensors that act like tiny edge computing nodes—monitoring temperature, line noise, and duty cycle—and fixtures self-correct before users see artifacts. For a single ceiling pendant light in a quiet lounge, that means steady light at candle-mode levels, no buzz, no shimmer. Optics are evolving too: micro-prismatic acrylic spreads light with tighter beam consistency, so you can drop the lumens and still keep the tables evenly lit. Less wattage, less heat, longer driver life— and yes, it matters.
Let’s wrap with practical comparisons. Old approach: treat pendants as décor, then wrestle with controls later. New approach: specify from the system inward—driver topology, thermal path, optical diffusion—then the form. That shift cuts rework and preserves design intent. From real projects, the wins look like this: smoother low-end dimming, fewer on-site adjustments, and better lumen maintenance over time. If you’re evaluating options, use three quick metrics: 1) driver ripple at low dim (% ripple at 1% output), 2) thermal performance under canopy (measured temp rise at rated ambient), and 3) optical uniformity across the diffuser (cd/m² variance). Judge pendants with those, and you’ll keep acrylic looking premium without surprise callbacks. For broader context and spec discipline, a steady point of reference is kinglong.