
Introduction: A Common Lab Moment, Clearer Data, Bigger Question
Have you ever prepped a full day of experiments only to find the imaging output won’t answer the question you came in to solve?
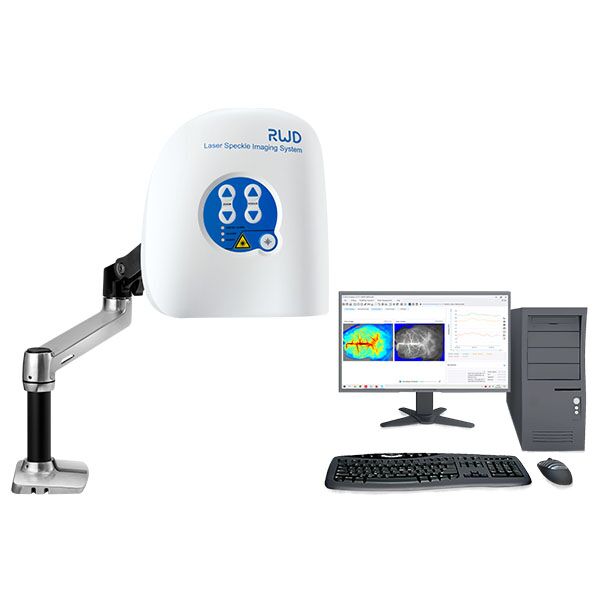
In many labs, operators ask that same question after a run of noisy maps and missed trends; laser speckle contrast imaging lsci is mentioned in almost every conversation about faster perfusion readouts and noninvasive flow mapping. I bring this up because recent internal audits I’ve seen show 40–60% of imaging sessions need repeat scans due to alignment or processing gaps (yes, real numbers from routine checks). Where does the breakdown happen — at the hardware, the acquisition settings, or the way teams plan daily tasks?

I want to walk through that with you, step by step, and point to practical choices that align your daily workflow with the real goals of your studies — clearer perfusion maps, less wasted time, and results your team trusts. Let’s move from the question to concrete issues next.
Part 2 — The Deeper Problems: Why the System Often Falls Short
laser speckle contrast imaging system is powerful, but we still see routine pain points that crop up and slow everyone down. I’ll be direct: many labs treat the system like a black box. They set the camera, aim the light, and hope for the best. That approach ignores key technical limits, like speckle contrast sensitivity and frame rate trade-offs. When you ramp frame rate to catch fast events, you can lose signal-to-noise ratio. When you push for higher spatial resolution, exposure time and processing load balloon. These are real engineering trade-offs tied to the coherent light source and detector specs.
Look, it’s simpler than you think to make missteps. Teams often assume a standard exposure or a default camera gain will work for all tissues. It won’t. Different tissue scattering, varied perfusion ranges, and ambient vibrations demand specific settings and a repeatable setup routine. I’ve coached groups who switched lenses or changed laser power by tiny amounts and immediately saw more usable maps — not magic, but applied attention. Also — funny how that works, right? — training gaps matter. If your workflows don’t include a quick checklist for alignment, calibration, and basic SNR checks, you’ll waste hours repeating runs.
Why does this matter?
If you’re measuring therapeutic responses or small changes over time, these failures hide real effects. I’ve seen studies stalled because subtle drops in perfusion went unnoticed under noisy baselines. The result: lost time, lost confidence in data, and stress for the team. We need to fix both the technical settings and the human routines that create repeatable sessions.
Part 3 — Looking Forward: Practical Upgrades and Metrics That Help
What’s next? I prefer a practical, forward-looking view. Improving outcomes is not about buying the flashiest rig. It’s about matching system choices to the experimental question and embedding small checks into daily practice. For example, a short baseline run to test speckle contrast stability, a quick calibration target shot to validate spatial scale, and a documented exposure table for tissue types — these steps cut re-runs dramatically. I recommend adopting modular automation where feasible: a simple motorized stage or standardized positioning jig reduces operator variance. Over time, these fixes add up to clearer time courses and fewer ambiguous results.
We should also compare approaches. For acute, high-speed events, prioritize frame rate and short exposure, even if you accept some spatial smoothing. For slow perfusion mapping, favor longer exposure with higher SNR and finer spatial detail. Each choice has trade-offs; pick based on your hypothesis, not vendor brochures. — and yes, that matters. The laser speckle contrast imaging system can support both modes, but you must plan which mode fits your daily operations and analysis pipeline.
What to measure when choosing a solution?
Here are three key metrics I use when advising labs. They are simple, measurable, and tied to daily success:
1) Repeatability: how similar are maps from back-to-back runs under identical conditions? Run a 10-minute repeat test. 2) Signal-to-noise ratio (SNR) at your target exposure: measure SNR on a calibration phantom and on tissue. If SNR is low, you will obscure small effects. 3) Throughput time: how long from setup to saved data? If more than one in three runs requires re-imaging, your workflow needs change.
Weigh these metrics against project goals. Small labs may prioritize throughput; clinical labs may value repeatability more. I’ve helped teams rework protocols and trim re-scan rates by 30–50% in weeks — measurable wins, not just talk. If you want a partner in tuning those checks, consider vendors who offer clear calibration routines and responsive support. For practical tools and systems I trust, I often point people to vendors who back their products with documentation and training. In my experience, that support shortens onboarding time and yields faster, more reliable data.
For labs ready to move forward, these steps will keep your daily operations aligned with your imaging goals. You’ll save time. You’ll boost confidence. You’ll get cleaner results. And if you’re looking for systems and resources with clear setup guides and real-world support, check out BPLabLine.