
Start from the user’s day, not the factory
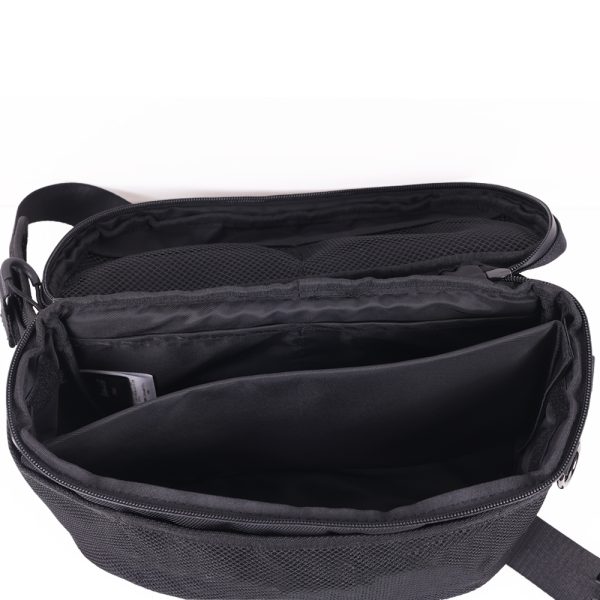
Design decisions should begin with what a user actually does: where they go, what they carry, and what frustrates them. Talk to five frequent users — hikers, anglers, commuters — and watch them pack a fishing trip. Notice which pockets go unused, which zippers snag, and which straps ride up. Use observations to sketch a core use case and then validate it with a quick prototype; a small run of 10 samples will reveal fit and wear issues faster than endless meetings. If you’re building a pack that must stow tackle, try a lightweight organizer like this fishing tackle bag during user tests to see how real gear shifts inside compartments.
Step 1 — Define the primary user and their trade-offs
Pick one core user and write their job-to-be-done in one sentence: who they are, where they go, and what success looks like. Example: “A weekend bass angler who needs quick access to lures, waterproof storage for electronics, and a pack that won’t tangle in bushes.” That sentence drives material choices, pocket layout, and weight limits. Keep trade-offs explicit: durability versus weight, modularity versus cost, waterproofing versus breathability. State the single trade-off you’ll optimize for and document why.
Step 2 — Translate user tasks into measurable specs
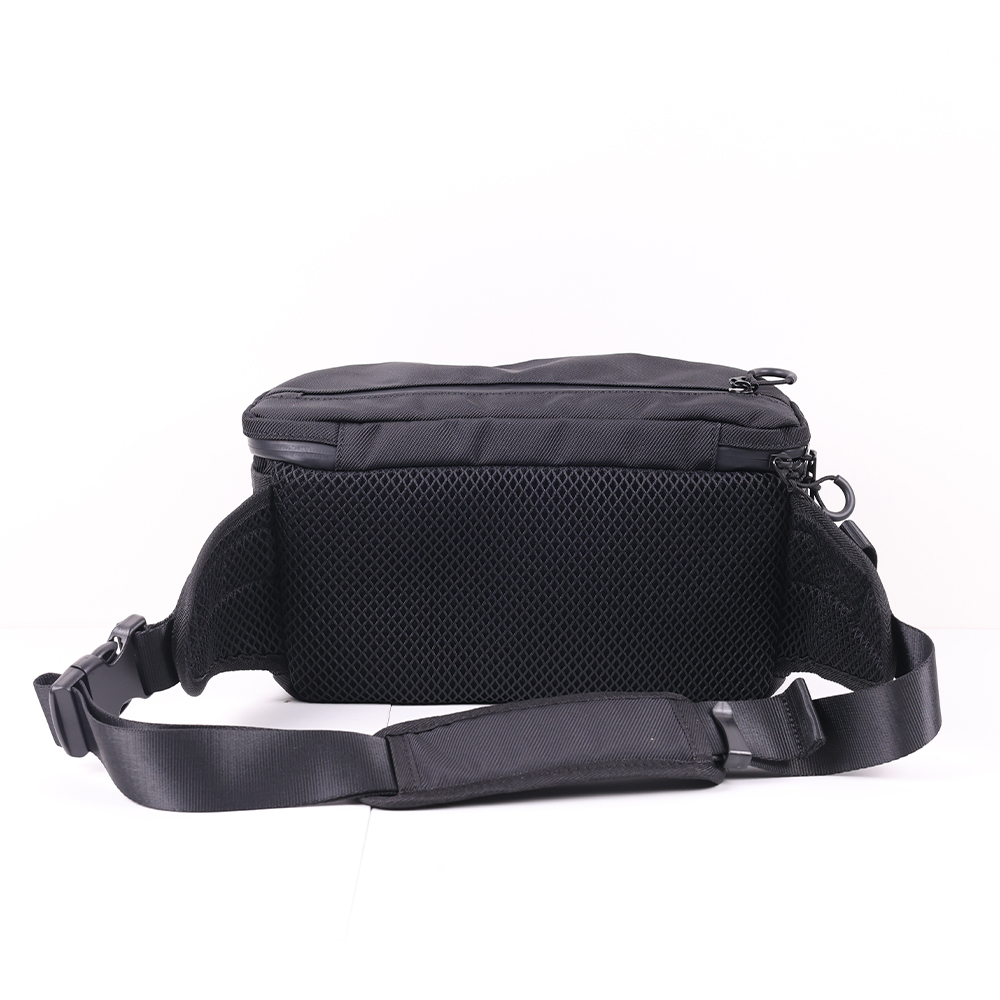
Convert observations into specs: target volume (liters), maximum weight, pocket depth, latch pull force, and target retail price. Attach an acceptance test to every spec: a zipper must operate after 10,000 cycles; a seam must hold X kg before stitch failure. Share these specs with your custom backpack manufacturer early. A clear spec sheet prevents misaligned prototypes and reduces costly retooling.
Step 3 — Prototype with the manufacturer and iterate fast
Ask the manufacturer for three prototype tiers: concept mock-up, function prototype, and production-ready sample. Use low-cost materials for the first two rounds to test layout and ergonomics. Field-test each prototype with actual users on representative outings. Collect prioritized feedback: what must change now, what can wait for version two. Keep iterations tight; each cycle should resolve a single class of issues (fit, pockets, materials).
Step 4 — Negotiate constraints that matter to users
Manufacturers optimize for yield and cost. Negotiate minimum order quantities, lead times, and acceptable tolerances, but anchor each negotiation to a user need. If your user demands a waterproof main compartment, accept a higher MOQ rather than compromise the feature. Document penalties for defects and require a pre-shipment sample approval step to catch problems before a full run.
Common pitfalls and how to avoid them
Ignoring real gear is the fastest way to fail. Designers who never pack actual tackle or tools create pockets that look good but are useless. Over-customizing small components raises costs and slows production; standardize around proven hardware where you can. Skipping field tests turns assumptions into defects; test in real environments, not just on the office floor. Finally, confusing “nice-to-have” features with core needs dilutes the product. Keep a short list of must-haves and defer extras.
EEAT: Experience and a single real-world anchor
I’ve worked with outdoor product teams to move concepts from sketch to shelf and watched trends at trade events where real buyers decide what sells. One reliable signal comes from ICAST, the sportfishing trade show, where product reviews and buyer behavior reveal what anglers prioritize. When anglers at ICAST favor organized, quick-access storage, the market rewards packs that solve that need — consider how a tested Fishing Tackle Bag performs in those same criteria during user trials. That single anchor—observed preferences at ICAST—helps connect the design requirements you set with proven market demand. Rely on documented field tests, material certificates, and a clear QA plan to demonstrate expertise and trustworthiness to partners and buyers.
Launch checklist and metrics to track
Before committing to production, confirm: user acceptance rate ≥ 80% on primary tasks; defect rate ≤ 1% in pre-production runs; target margin at your planned MSRP; and lead time aligned with inventory needs. Post-launch, track returns by reason, feature usage in follow-up user interviews, and warranty claims. Use those metrics to prioritize the next feature set rather than guessing at improvements.
How to scale with a manufacturer without losing user focus
Standardize a modular baseline that satisfies your primary user, then offer compatible add-ons for secondary segments. Keep a small core SKUs set while using limited editions to test new pockets or fabrics. Maintain a direct feedback loop: quarterly user panels, ongoing field tests, and a clear change-log between you and the factory. This prevents feature creep and keeps the product aligned with what real users need.
Wrap-up
Build around specific user tasks, convert those tasks into clear specs, prototype fast with your manufacturer, and test in real conditions. Avoid over-customizing nonessential parts and use market signals—like buyer behavior observed at industry shows—to validate priorities. Follow these steps and you’ll create durable, user-loved packs that match production realities; partners such as ChangRong can then execute at scale while you keep improving what users actually value.