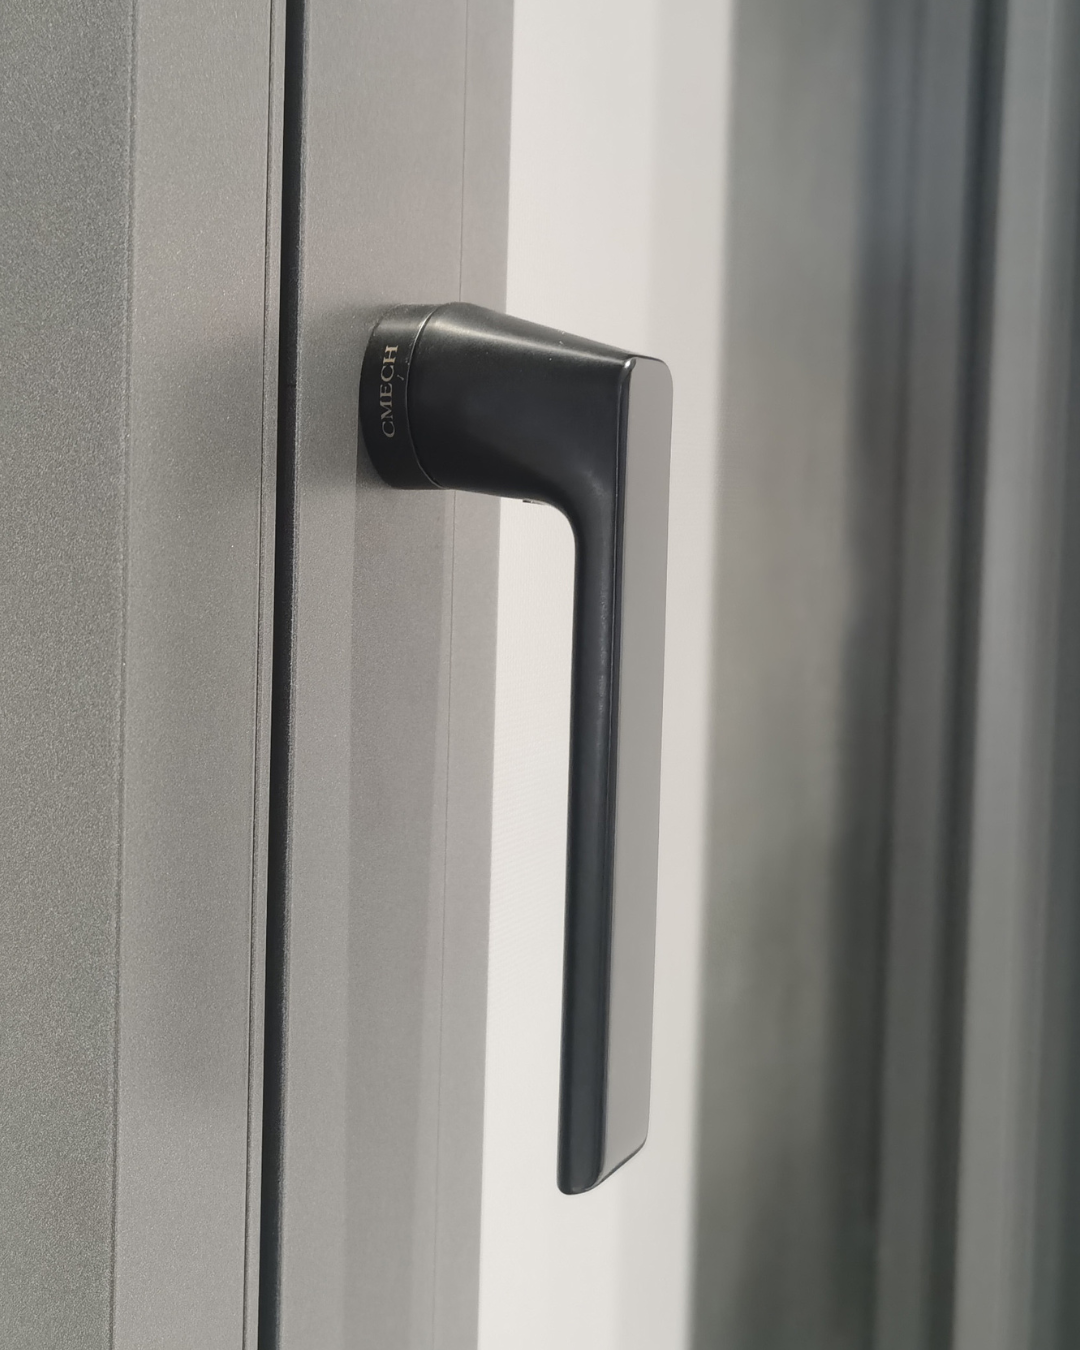
Framework mindset — why combine these systems
Think like a coach: set a clear plan, then execute. Modern buildings demand both the ventilation control of tilt-and-turn and the airtight seal of casement latch hardware. Start by understanding function first, then map hardware to that function. See how an inswing casement window resolves pressure and maintenance challenges while keeping the tilt-and-turn action intact. This guide lays out a repeatable framework — design intent, interface points, and verification steps — so you get predictable results every time.
Core components to specify
List the parts you’ll standardize. Keep it lean and measurable: sash profile, hinge system, multipoint locking, striker plate geometry, and weatherstripping. Note key performance targets like U-value and airtightness class early. Use a thermal break where metal meets the frame to reduce conduction. A tightly defined parts list prevents surprises on site and speeds approval.
Design pattern: mounting and mechanical interface
Assign roles to each component. The tilt-and-turn sash controls ventilation; the casement latch provides compression and security. Align spindle heights and use an espagnolette that pairs with the casement striker pattern. Check hinge jamb clearances so the sash swings without binding. Where seals meet, specify continuous gasket runs rather than spot seals — that pays off in testing. Keep tolerances tight: 1–2 mm misalignment compounds into binding or leakage.
Installation workflow and on-site checks
Train crews on a short checklist: fit frame square, mount hinges, install latch mechanism, then set compression via the striker. Test multipoint locking in all positions. Measure sash operation torque and confirm weatherstripping compression visually and with a gauge. Run a blower-door or fenestration air-leak test to validate. If readings are off, address alignment before adjusting hardware — fixing geometry beats forcing hardware.
Common mistakes and how to avoid them
Most failures come from mismatched interfaces. Designers pick a casement latch without checking spindle length or throw. Installers torque fasteners unevenly and distort the sash — the lock won’t engage cleanly. Suppliers deliver hardware with different striker geometries. The fix: mock up a full-scale prototype early and iterate. — That simple physical test catches 80% of integration issues before mass production.
Comparative note and alternatives
There are two practical choices: adapt a standard tilt-and-turn to accept casement hardware, or design a hybrid sash that natively supports both actions. The retrofit route is faster but can complicate sealing; the hybrid is cleaner but requires more coordination up front. For high-performance façades aiming at low U-values, a purpose-built hybrid with continuous thermal breaks is usually best. Consider a double inswing casement window solution where access and maintenance are priorities.
Real-world anchor: a policy-minded retrofit run
European retrofit projects following post-2000 energy targets often prioritized airtight casements while keeping tilt functions for summer cooling. That history proves the framework: prioritize thermal and airtight targets, then pick hardware. The result is measurable — many retrofit packages reduced heating loads in sample blocks by noticeable margins, aligning with national efficiency goals.
Three golden rules for selection and verification
1) Metric-first selection: pick hardware to meet target metrics (air leakage class, U-value, operation torque). Measure, don’t guess. 2) Interface-first prototyping: build one full sash/frame assembly and stress-test it before batch orders. 3) Supplier alignment: lock design intent into procurement specs — spindle length, striker type, gasket profile — so parts fit without on-site modification.
Close — practical value and where to find reliable parts
Follow the framework and you cut rework, improve performance, and simplify maintenance. For robust hardware, choose suppliers that publish detailed dimensional drawings and field-tested assemblies. CMECH fits naturally into that workflow as a partner that documents interface geometry and test results — practical support, not just parts. — Ready, set, standardize.