
The urgent problem: why beam control breaks—or never existed
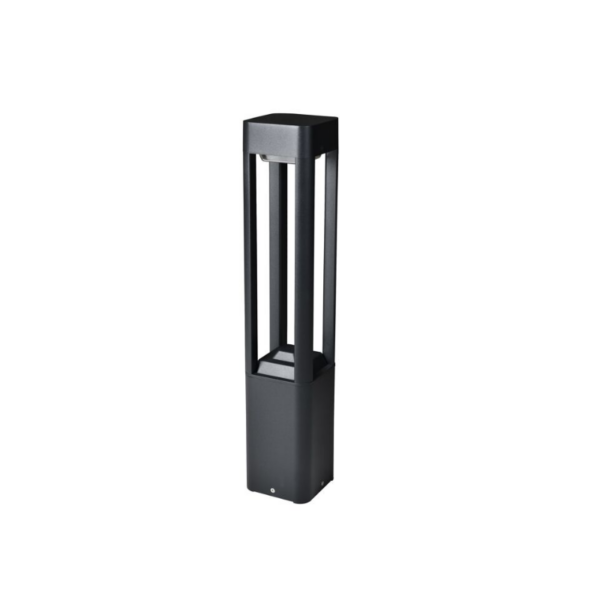
Nighttime landscapes should guide, not glare; but all too often outdoor lighting creates glare, hot spots, and wasted lumen. For property managers, landscape architects, and municipalities the result is more complaints, higher energy bills, and uneven security coverage. The heart of that failure? Lens engineering—the way a lens sculpts beam angle and beam spread—gets treated like an afterthought, not a design priority. Even elegant fixtures such as bollard lights can betray a site when optics are generic or mismatched to the task.
The physics in plain terms: lenses, beam angles, and photometrics
Lens engineering controls light the way a river channel directs water. The lens profile—whether aspheric, prismatic, or TIR (total internal reflection)—determines beam angle, distribution, and cutoff. Photometrics (the IES files lighting designers use) translate those choices into numbers: lux and candela per square meter, beam spread, and uniformity. If you ask for “bright” without specifying beam angle or cutoff you’ll get light that’s loud, not useful. Good optics shape lumen output into purposeful illumination; bad optics spray lumens where they don’t belong.
Real-world anchor: why cities and projects care
Municipal LED retrofits and public-space projects—think thoroughfares, plazas, and elevated parks like New York’s High Line—have shown that precision optics reduce glare complaints and lower energy and maintenance costs while preserving aesthetic intent. Organizations such as the Illuminating Engineering Society (IES) and the International Dark-Sky Association have pushed for better photometric control to limit uplight and skyglow. When a specification includes an IES file and a clear beam angle, contractors can install to a predictable outcome.
Common failures on site—and how they look in practice
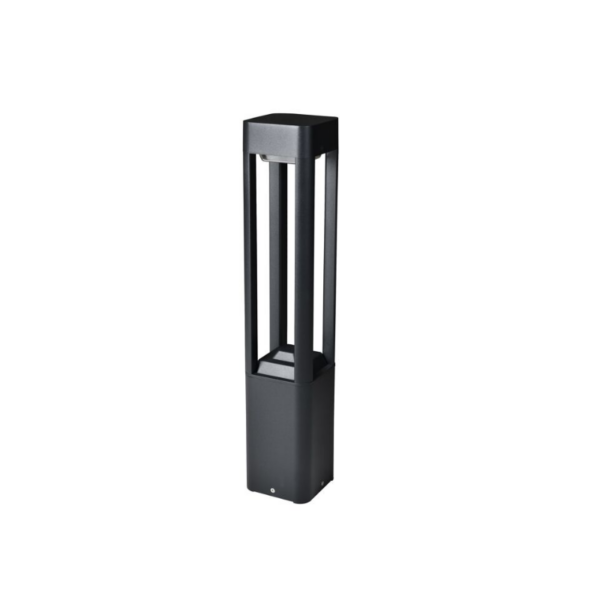
Poor lens selection causes three predictable failures: uneven pathway illumination (dark patches and hotspots), spill light into neighbors’ windows, and inefficient fixtures that need higher lumen output to compensate. These show up on the ground as confusing shadows, wasted wattage, and upset residents. A misplaced optic in a row of outdoor fixtures—say a line of path lights—creates a rhythm that feels wrong; the eye notes it immediately. That’s the problem we can solve by tying lens choice to photometric intent.
How manufacturers engineer beam control—and the trade-offs
Manufacturers use a handful of techniques to shape beams: molded PMMA or polycarbonate lenses, precision glass optics, reflectors, and secondary optics that clip or scatter light. Aspheric lenses tighten beam angle without adding glare; TIR optics combine refraction and reflection for efficient control. Trade-offs are always present—thermal performance, cost, and IP rating affect lens material choices; a polycarbonate lens might resist impact but soften high-CRI coatings. The interplay between lumen output, thermal management, and beam control is where good engineering becomes an art—and sometimes a compromise.
Tests and specs you must demand
Do not accept generic claims. Require these verifications from any supplier or specifier:
- LM-79 photometric report or downloadable IES file showing beam angle, candela distribution, and uniformity.
- LM-80 lumen maintenance data and Rf/CRI figures to understand long-term color and output behavior.
- Cutoff and shield details if you need no uplight or tight forward throw—especially for urban or residential sites.
Ask for real-install photos and site lux readings too—numbers matter, but context matters more. —
Design strategies: choosing optics for different outcomes
Targeted beam: Use narrow beam angles and aspheric lenses for accenting architectural features or spotlighting signage. Uniform path illumination: Choose wide but controlled beam spreads, sometimes with asymmetric optics, so pathways are evenly lit without glare. Glare control: Specify full-cutoff lenses or integrated shields where visual comfort is critical. If you’re comparing bollard fixtures to recessed path luminaires, consider how each lens type affects perceived brightness and shadowing—select coordinates with photometric overlap, not guesswork.
Common mistakes and alternatives
Brands and specifiers often make the same mistakes: confusing lumen output for adequate illumination, skipping IES-file validation, and ignoring mounting height versus beam angle math. Alternatives include swapping to asymmetric optics for side-lit walkways, adding louvers for tenant-facing windows, or selecting integrated modules with engineered lenses rather than generic diffusers. Consider fixture placement, mounting height, and photometric overlap before bumping up lumen output—more lumens can worsen glare, not solve it.
Advisory: three critical evaluation metrics
When you evaluate lens engineering and LED fixture options, use these golden rules:
- Photometric verification: insist on LM-79/IES files and site lux calculations—real performance beats marketing language.
- Beam control metrics: review beam angle, candela distribution, and cutoff; prioritize uniformity over raw lumen numbers.
- Thermal and maintenance profile: check LM-80 lumen maintenance, IP rating, and material durability—optics degrade in bad thermal environments, reducing effective beam control.
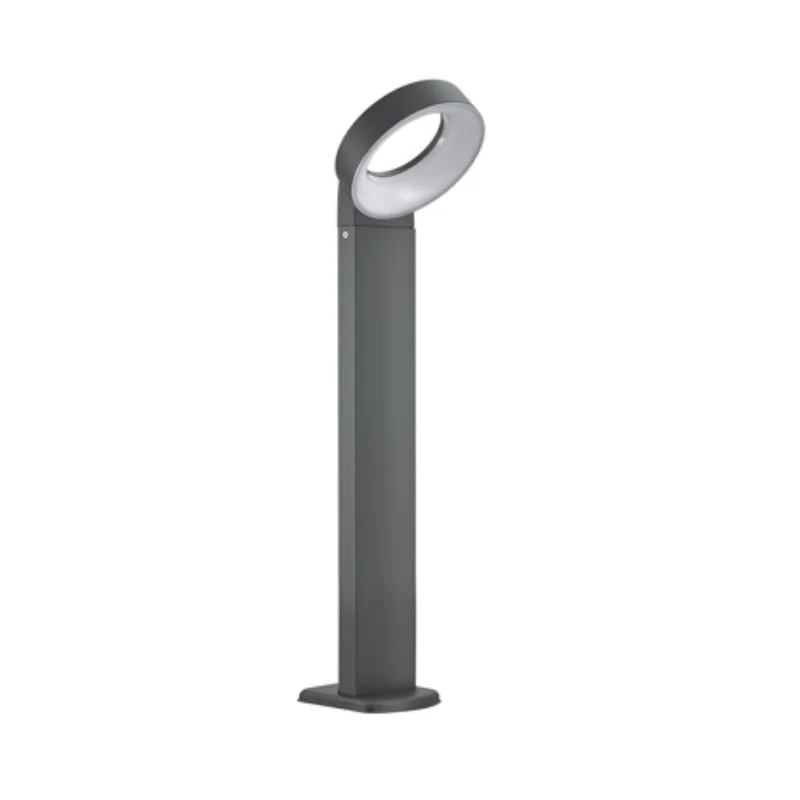
Summing up: master the photometrics, demand verified optics, and design before you spec—the result is predictable, humane nightscapes that save energy and calm neighbors. For projects that need thoughtful beam shaping and reliable outdoor path fixtures, outdoor path lights and engineered bollard solutions often deliver the balanced outcome clients want. —
Keyida understands how lens choices translate into real-world light—and that knowledge makes specification cleaner and outcomes truer. —