
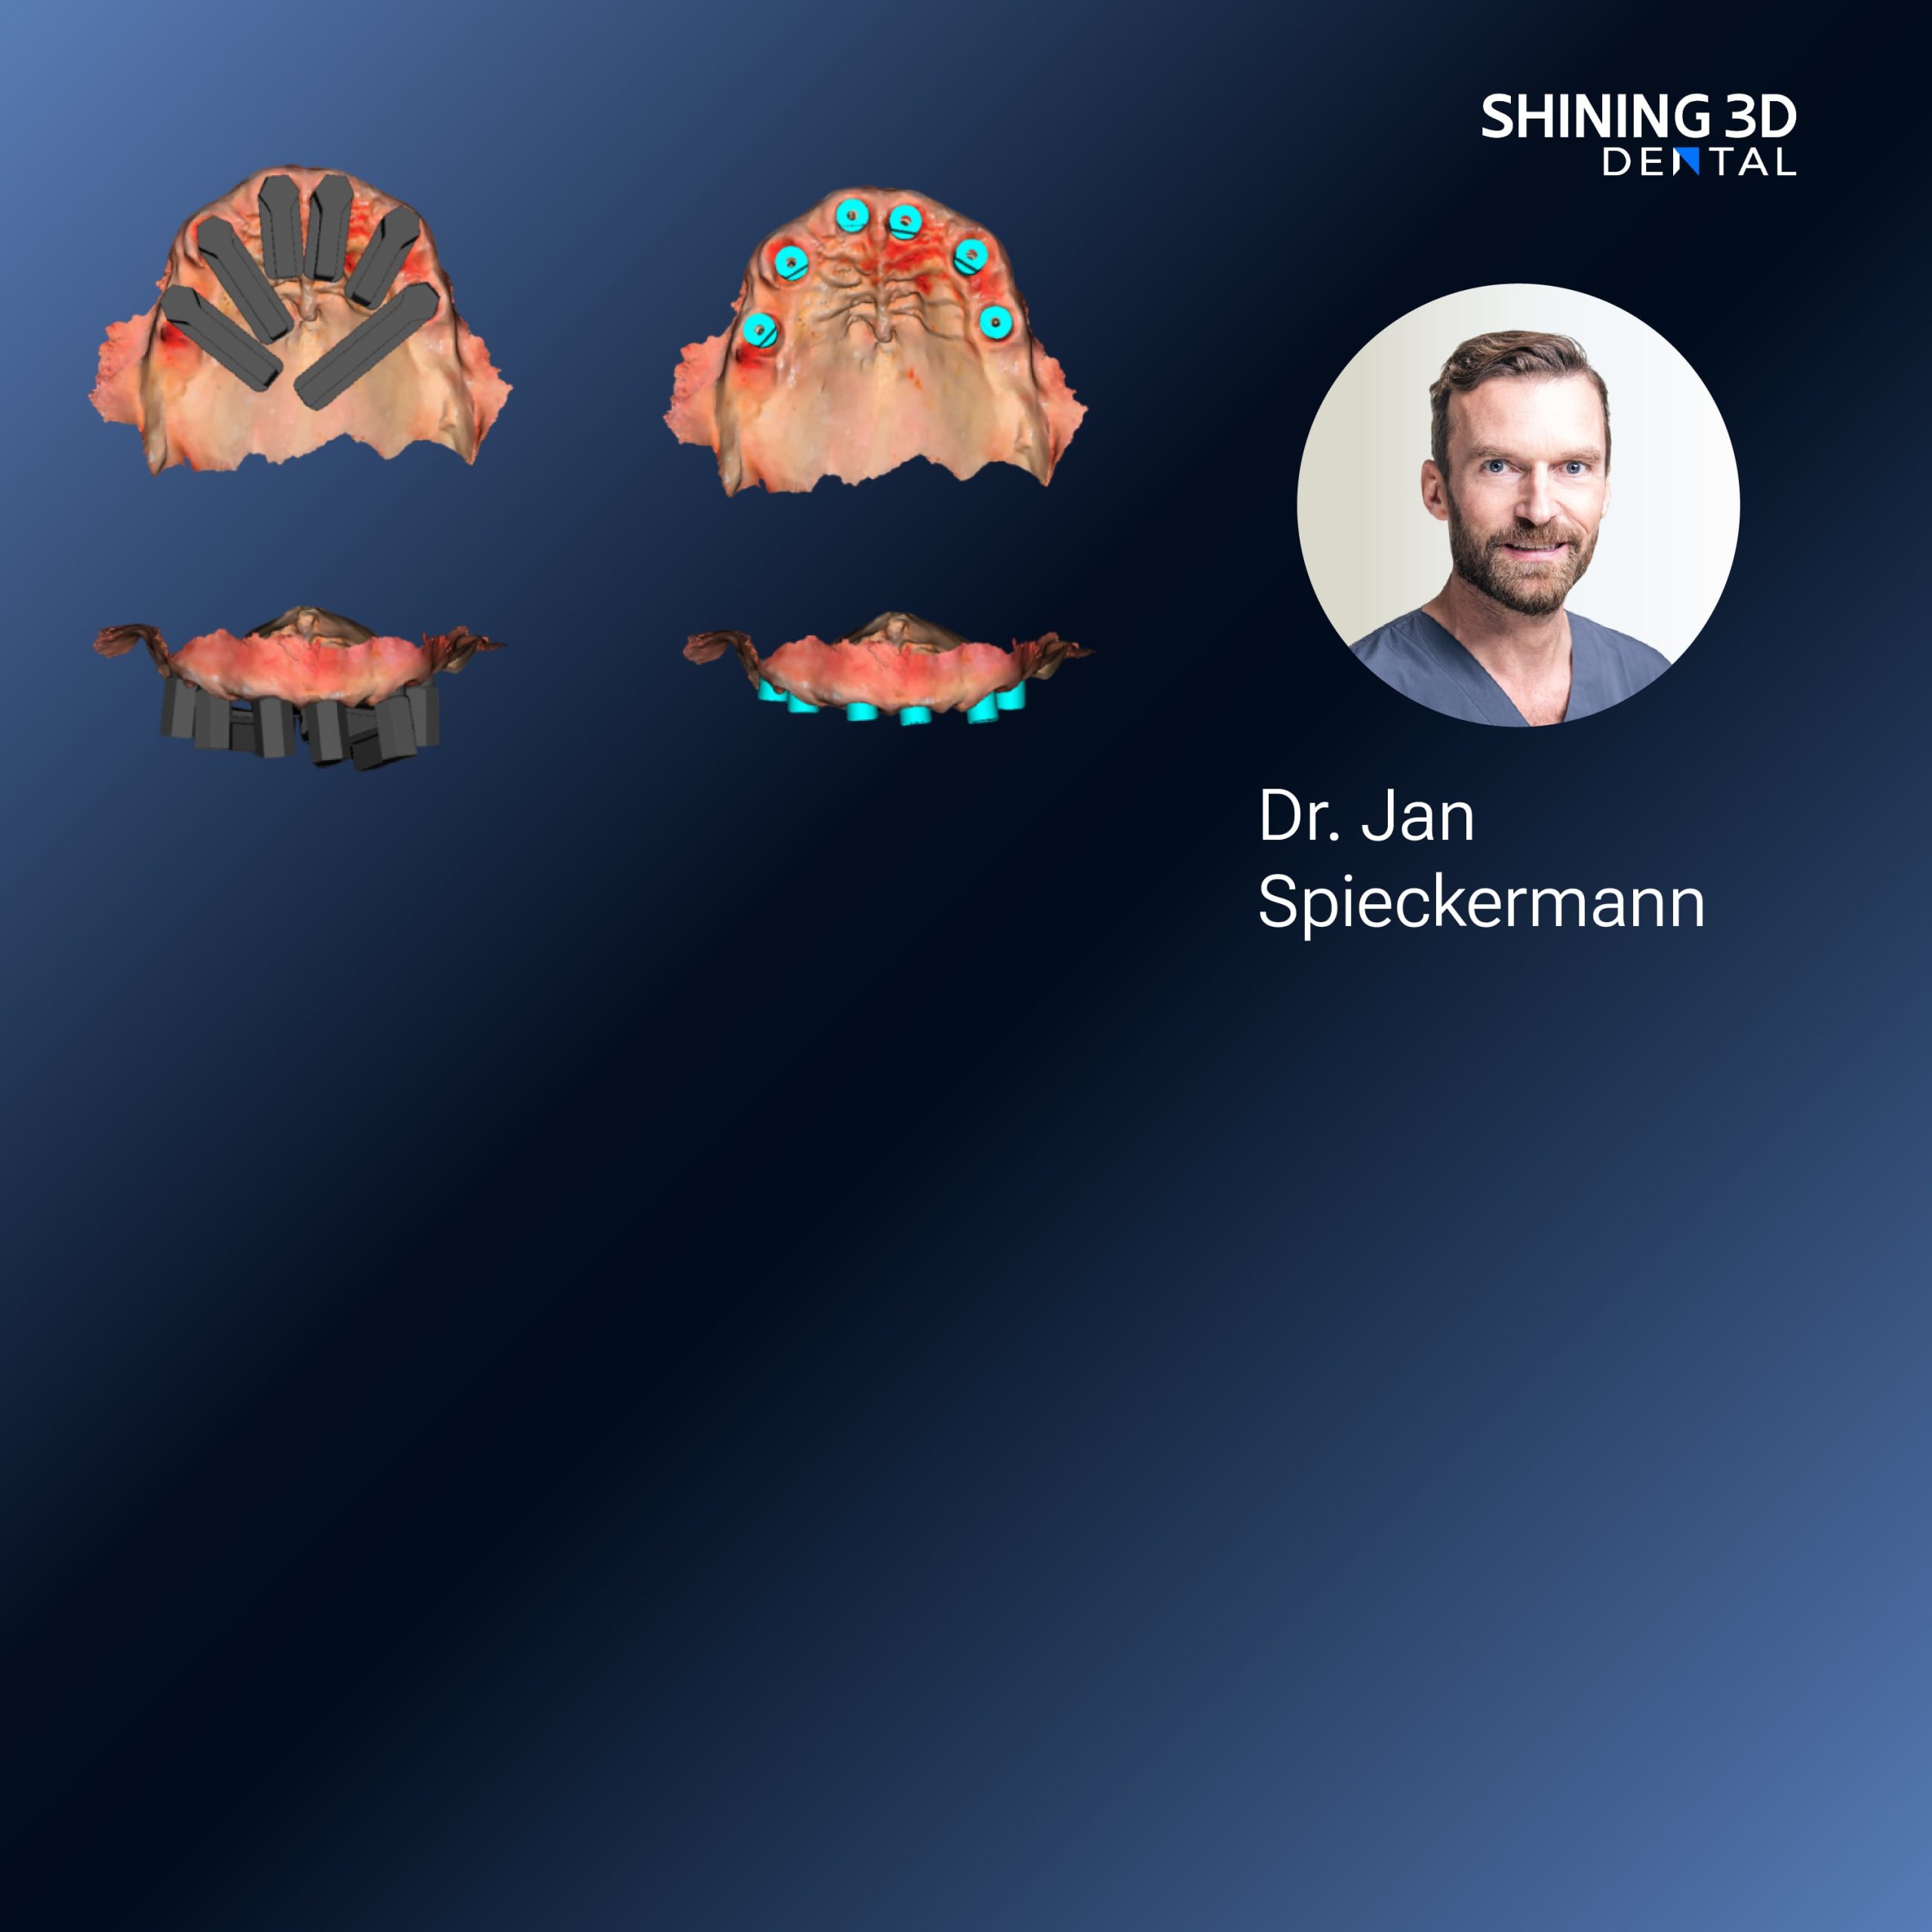
Start with the comparison you can act on
Decide what you want the system to do before you chase features. A clinic choosing between a mill, a lab partnership and an in-office dental resin 3d printer must rank outcomes — turnaround time, fitting accuracy, range of indications — then measure vendor claims against those ranks. The point of comparison is not shiny specs. It’s whether a device changes daily throughput, chairside time and patient experience in a predictable way.
What to measure and why it matters
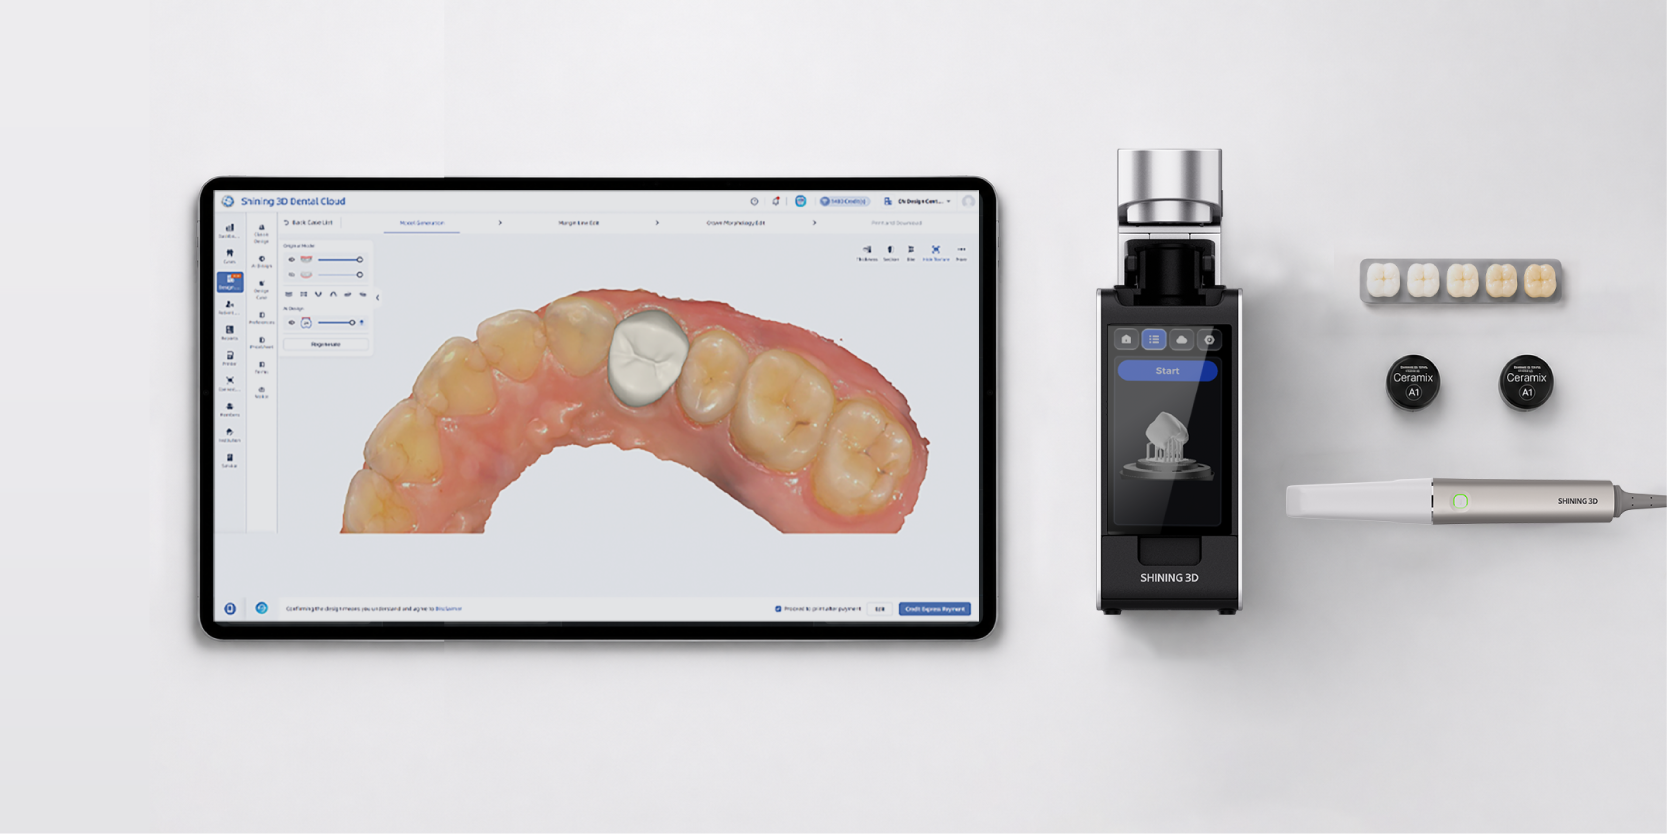
Compare concrete metrics: reproducible fit, cycle time per part, material compatibility, and software interoperability. Validate claims with a real-world anchor such as feedback gathered at IDS Cologne, where clinicians test chairside workflows firsthand — that kind of exposure separates marketing from performance. When you look at a chairside 3d printer or any candidate, ask for measured results under clinical conditions rather than lab-only numbers.
Software and integration: the silent decision
Software determines whether a device is fast to adopt or a constant friction point. Check file handoff (open STL vs proprietary formats), ease of design edits, and whether the software supports your existing practice management tools. Beware systems that lock you into a single material supplier or force manual workarounds; those increase hidden labor costs and slow adoption.
Materials and printer choice: simple trade-offs
Assess material portfolios for indications you’ll actually use — surgical guides, temporaries, denture bases, and custom trays all need different properties. Don’t assume all resins print the same; evaluate finished surface quality, post-processing time, and biocompatibility documentation. For many clinics the correct choice is a printer that balances reliable prints with an accessible material ecosystem, not the highest advertised resolution.
Service, costs and lifecycle planning
Total cost of ownership includes consumables, scheduled maintenance, replacement parts and downtime. Ask for average uptime figures and how quickly service or parts are available locally. Factor training time and the learning curve for team members into cost projections — a cheaper machine with long setup issues can cost far more over a year than a slightly more expensive, well-supported alternative.
Side-by-side alternatives: quick evaluations
On-site printing: best for same-day temporaries, surgical guides and small-batch prosthetics. Outsourcing to a lab: cheaper per-unit for complex restorations, but adds lead time and scheduling complexity. Milling: superior for certain zirconia restorations and full-contour strength needs, yet wasteful for single-use guides. Choose by matching the tool to the case mix, not by technology hype.
Common pitfalls and how to avoid them
Avoid buying on resolution alone. Don’t neglect post-processing time and ergonomics. Resist vendors who can’t provide clinical references or local support. Test with a trial workflow using your most frequent case types. Train staff with real cases during the trial, not just demo parts, so you see where mistakes and bottlenecks occur.
Final synthesis
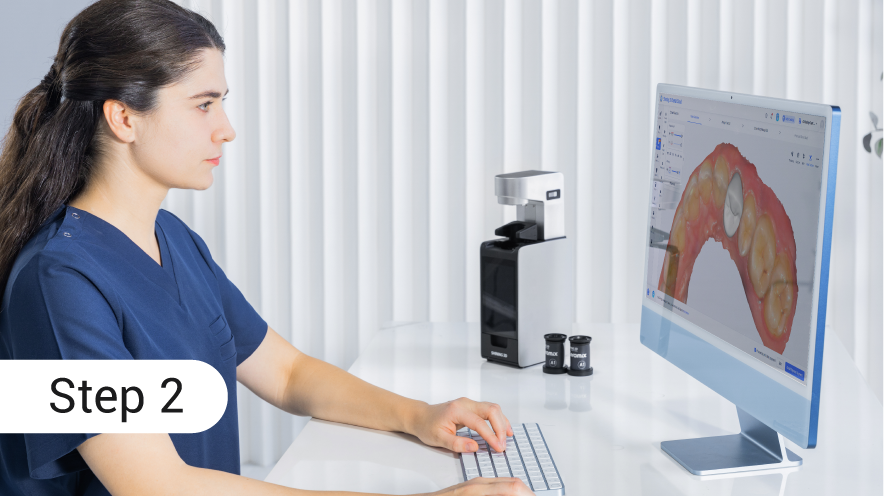
Compare systems on measurable outcomes, not specs. Prioritise integration, materials that match your cases, and local support that keeps the clinic running. When those priorities line up, the choice becomes obvious: a solution that consistently delivers the workflow value you ranked at the start will reduce chair time and boost predictability. That pragmatic alignment is exactly what SHINING 3D DENTAL shows in practice, by focusing on usable workflows and support rather than feature lists alone.